Category: Blog post

Blog posts

  • Why does a laser have to be focused?

    Why does a laser have to be focused?

    Why do you have to focus a laser?

    Yes, why?

    Lasers are those famously parallel beams of light that go on forever right? Well sort of and in many cases they’re fantastic for measuring, line-of-sight comms links and all sorts of other stuff. If you have a laser level in your DIY box you’ll immediately get this.

    So why does it need to be focused?

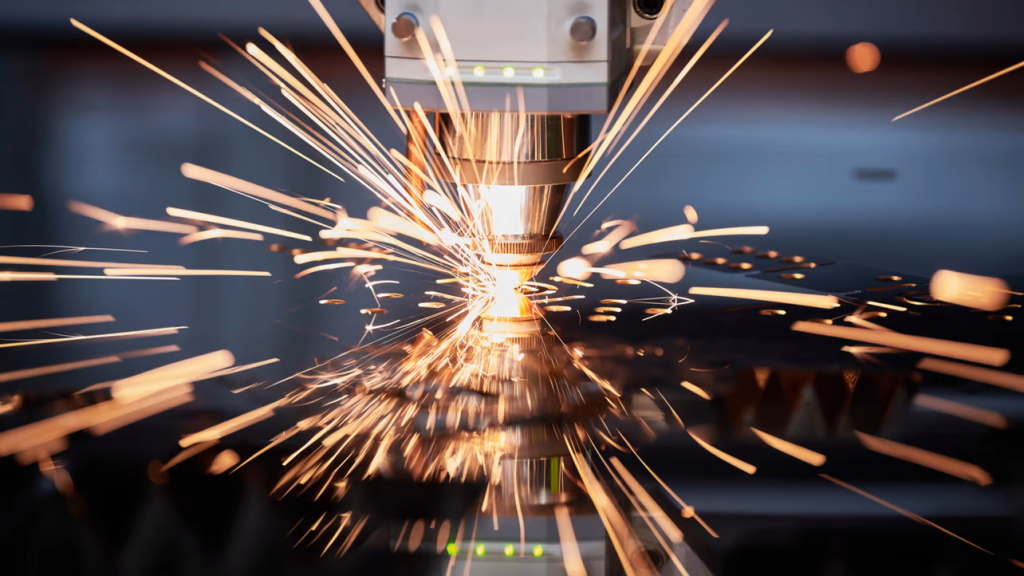
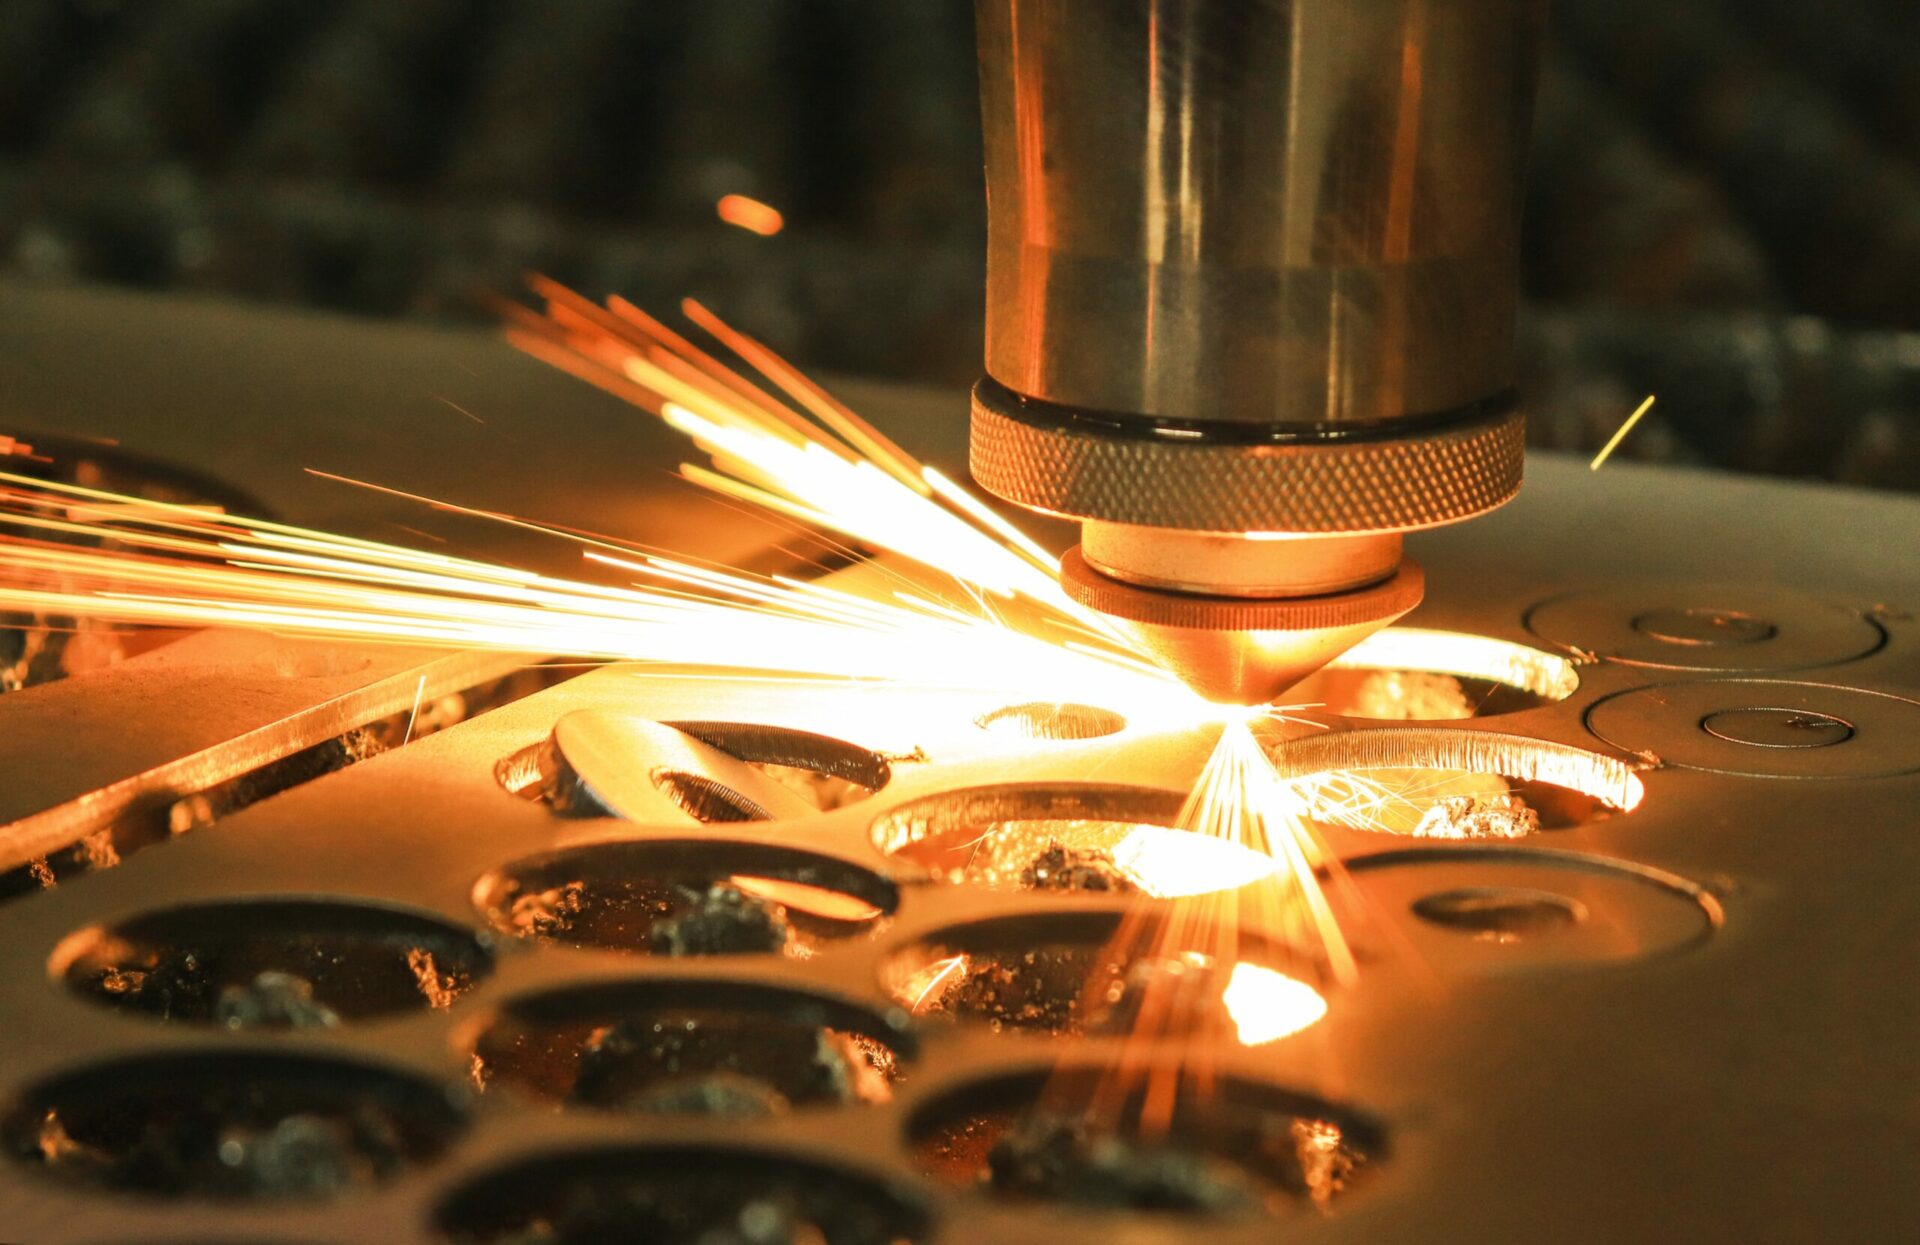
    To cut/engrave material you need to direct all the energy of the beam into a really small spot. This is directly analogous to using a magnifying glass to burn a hole in paper on a sunny day. With the magnifying glass, say a 10cm round one, when you focus the sun onto that little dot you’re taking that 10cm of energy and putting it all onto a 1mm dot on the paper. That’s 7854mm2 of sun condensed onto 3.1mm2, a 2500x increase in energy for the area. When you see it put like that you can see why the paper burns! 

    Burning a leaf with a magnifying glass
    Burning a leaf with a magnifying glass

    It’s the same principle

    Likewise with a laser you want the smallest spot you can get. Concentrate all the energy into that dot to get a nice, fine cutting edge or great resolution for engraving.

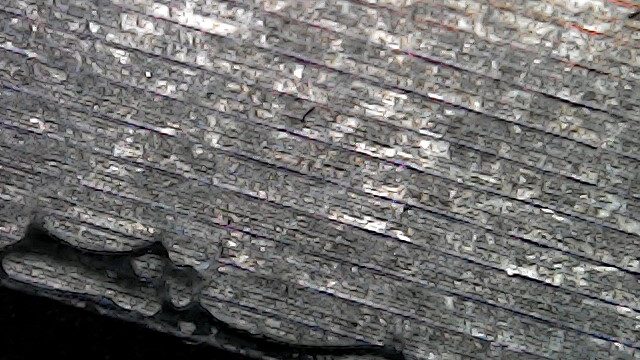
    A typical laser dot is around 0.08-0.1mm in diameter but the beam from the laser tube itself is around 10mm in diameter so a lens is used to focus that into a spot of 0.1mm. Unsurprisingly this cuts and engraves very well!

    When engraving you want to focus the beam onto the surface of the material. if you’re cutting, particularly on thicker material like 12 or 18mm MDF, you want to focus the beam a little below the surface. Why is this you ask? A simple diagram will explain! As you see, because the beam is focused it’s now a cone shape which means the power for the area varies outside of the focal point. If you focused on the surface of the 12mm MDF your beam would be out of focus by quite a bit on the underside of the material.

    By moving the focus closer to the centre of the material you’re a little out at the surface and the underside still, but far less than you would have been overall by focusing on the surface. You also get a slightly straighter edge to the cut overall due to the ‘cone’ of the laser being narrower across the depth of the cut. For regularly cutting thicker materials you can actually use a different lens with a longer focal length which gives you a narrower cone (but slightly lower engraving quality). This also allows you somewhat greater positioning freedom when you want to focus lower into the material as a standard lens only gives you about 4mm freedom with the focus before it bumps into the surface.


    Focusing the laser


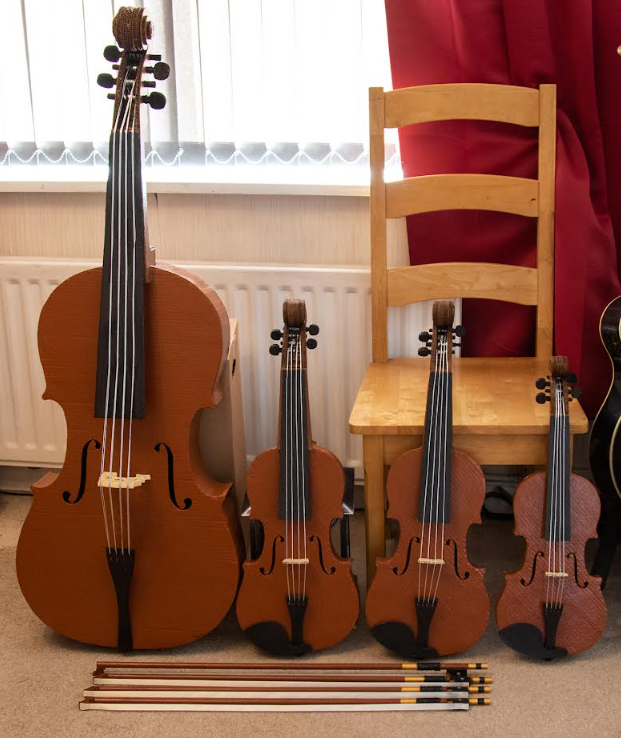
    We hope you found this interesting (and maybe even useful) – now you know why lasers sometimes need to be focused! Take a moment to see how this understanding is used to create the great things we make in our gallery and of course always make sure to get in touch if you have something that you’d like created.

  • Illuminated Acrylic Signs

    Illuminated Acrylic Signs

    Illuminated acrylic signs

    Get lit

    In the world of business, brand awareness is crucial for success. It’s what sets your company apart from the competition, and how customers recognize and remember your brand. One way to boost brand awareness is by using illuminated acrylic signs.

    Surefyre illuminated acrylic sign
    An illuminated acrylic sign we use at some networking events

    Our illuminated acrylic signs are made of high-quality acrylic material and feature LED lights that shine through the sign, making your brand stand out in a visually appealing way. These signs can be small or large and used in a variety of settings, from storefronts and lobbies to trade shows and events. Here are three reasons why illuminated acrylic signs can help boost brand awareness and generate leads.

    1Illuminated acrylic signs are eye-catching. The bright LED lights make your brand name and logo stand out, even in a crowded space. This can help draw attention to your business and make it easier for potential customers to find you. Additionally, an illuminated sign can create a sense of excitement and intrigue, which can encourage people to learn more about your brand.

    Our Theo Paphitis SBS badge in illuminated acrylic
    Our Theo Paphitis SBS badge in illuminated acrylic

    2They are versatile. They can be customized to fit your brand’s unique style and message. Whether you want a bold and colourful sign or a sleek and modern one, an illuminated acrylic sign can be designed to fit your needs. This flexibility allows you to showcase your brand in the best possible way.

    Welcome Desk sign for Business Buzz networking
    Welcome Desk sign for Business Buzz networking

    3Illuminated acrylic signs can help generate leads. By drawing attention to your business, an illuminated sign can encourage people to stop by and learn more about your products or services. Additionally, if your sign is placed in a high-traffic area, such as a busy street or a popular shopping centre, it can attract potential customers who may not have otherwise noticed your business.

    In summary

    Illuminated acrylic signs are a powerful marketing tool that can help boost brand awareness and generate leads. With their eye-catching design, versatility, and ability to attract attention, they are a smart investment for any business looking to stand out from the competition.

  • Branded Slate Coasters

    Branded Slate Coasters

    Branded Slate Coasters

    Slate coasters are a practical and stylish way to promote your brand and improve your brand’s awareness. They are perfect for use in restaurants, cafes, and homes, and are a great way to get your brand in front of your target audience. Some ways in which branded slate coasters can help raise the profile of your business and improve brand awareness are…

    Taylor Mayde coaster
    Taylor Mayde coaster

    Create an impression

    Branded slate coasters are an effective way to create a lasting impression on your customers. By adding your logo or message to the coasters, you create a tangible reminder of your brand that will stay with your customers long after they have left your business. This can help to improve brand recall and encourage repeat business.

    Promotional items

    Branded slate coasters are cost-effective promotional items that can help to increase your brand’s visibility. By distributing coasters to your customers or including them in gift packs, you can reach a wider audience and increase brand awareness. Your coasters can end up being used in a variety of settings, such as homes and offices, providing a great opportunity to showcase your brand to potential customers.

    Quality

    Slate itself is a stylish medium that can help to enhance your brand’s image. It is known for its durability and resistance to wear and tear. By associating your brand with a high-quality and long-lasting product, you help to improve your brand’s reputation and enhance its image.

    Uilebheist slate coaster
    Uilebheist slate coaster

    In summary

    Branded slate coasters are a versatile and effective way to promote your brand. By adding a unique design or message to them you easily create a conversation starter that will engage your customers and help to create a memorable experience. This helps to build a stronger connection with your customers and improve brand loyalty. They help create a lasting impression and provide a fun and creative promotional item.

    the dog and duck coaster 2
    Pub/restaurant coaster
  • The Will To Win

    The Will To Win

    Wall lettering

    Mark Blundell’s motto

    Today we delivered and fitted a wall sign for former British Formula 1 driver Mark Blundell at his business MB Partners.

    Mark has the motto ‘The Will To Win’. The phrase, used by his grandfather, has resonated with Mark throughout his life and he carries it through to his daily activities even now. When Mark explained these origins at the SBS2023 event in Birmingham, the story resonated with me also and I created a sign mock in Photoshop and tweeted it saying I was thinking about putting this on the studio wall myself! Five minutes later Mark had replied saying ‘Do two, I’ll buy one’ and his half of that sudden deal came to life today.

    The quick mock up that started it all

    The processCreating the sign itself presents a few challenges as the entire sign is larger than the laser bed. Rather than use a potentially hit & miss ‘print & cut’ style of sliding a larger piece of material through the laser in several stages with alignment marks, we adopted a modular approach.

    Each word of ‘The Will to Win’ was cut individually with interlocking tabs on each piece. When assembled the sign retains the original font spacing and alignment. The individual panels are simply held together using slide binders to recreate the whole sign.

    The WIll to Win sign components
    The sign components in the interlocking mounting frames

    MountingThe letters are not completely cut from the surrounding frame, remaining connected by small 1mm tabs allowing the mounting to take place and the letters to be ‘popped out’ so the frame can be removed. The whole frame with letters is mounted and then the tabs broken, frame removed and the letters remain on the wall. The frame is marked with pressure points for the tabs.

    The main letters are fixed with 6mm wooden standoffs which we cut and attached to the rear and the ‘Mark Blundell’ text is flush-mounted to the wall adding a small ‘recess’ effect compared to the main motto. Nano tape holds everything together and makes for super easy push-fitting to the wall.

    Mark Blundell The WIll To Win
    Mark and The Will To Win

    Pride of placeMark made the fantastic decision in the end to site the sign over the doorway just inside his office entrance. It’s the first thing everyone sees when they enter and is the perfect location for it!

    If you have any signage requirements for your business (or equally your home) then get in touch and let’s talk about how we can help you!

  • Custom boxes

    Custom boxes

    Custom boxes

    One size does not fit all

    There’s times when ‘standard’ sized card boxes just won’t do, we know all too well so we decided to make our own for some of our items! This of course means we can make yours, also!

    card boxes
    Card boxes in various shapes and finishes

    If you need some custom-sized small boxes, and you don’t want to order 250 at a time from a large box maker then get in touch and let’s talk about what size, colour and finish you’d like!

  • A laser cut String Quartet

    A laser cut String Quartet

    Recycled string quartet

    Gold from trash

    Working on unusual laser cutting projects is a joy as you get to exercise mental muscles for their design which don’t often get used. We were excited when local Creative Artist, Jana Eastwood, asked if we could laser cut cardboard which, of course, we can. We weren’t quite expecting the quantity of cardboard to laser cut though. Jana had been asked by The National Trust’s Charlecote Park to create a string quartet by recycling material they had left over from activity within the house.

    The String quartet in place at Charlecote Park
    The string quartet in place at Charlecote Park house

    Designs

    Thankfully information on the dimensions of the cello, viola and violin are readily available on the Internet from luthiers and other sources. Of course there are plenty of images to refer to also. We set about making the bodies first, creating four fronts and four backs – cello, 2 violas & violin. Not a standard configuration. The musical example picked was Franz Anton Hoffmeister’s Quartet #5 in Eb Major which was composed this way. Once cut, Jana could begin assembling the bodies using card tubing cut to length as internal supports between the two sides.

    The laser cut String Quartet bodies
    The string quartet instrument bodies, the cello was cut in two pieces due to its size

    Stick your neck out

    Next the necks were cut as a box, cutting the long side profile of the neck, including the scroll and pegbox holes, and a pair of connecting panels for the top and bottom. Jana added the clever step of some internal card bracing for the necks too.

    Necks for the string quartet instruments
    The neck pieces
    Neck with internal bracing
    The internal bracing in the necks

    Infinite scroll

    We laser cut the scroll ends as varying size pieces to emulate the relief of a real scroll and to create a solid end for strength when glued. Sixteen tuning pegs were created by using a 3D engraving technique on 9mm MDF for realism (see Laser engraving 3D features). These couldn’t be created completely from cardboard and still look great.

    Necks before painting
    The scrolls with packing
    Scroll end with tuning peg
    Using a tuning peg to hold the scroll end together

    A bridge too far

    Bridges, tailpieces and chinrests were also cut from cardboard and painted black as were the fingerboards for each instrument.

    String Quartet chin rests and tailpieces
    Tailpieces & chinrests

    Wait, there’s frogs?

    The four bows were being made from 12mm dowel and we needed to cut frogs and tips that could be securely glued to it. This led us to create each tip and frog from eight layers of 1.5mm cardboard (conveniently a good size!). With 4 layers at slightly different heights when the layers are stacked together they follow the circular profile of the dowel. This technique was used for the bow tip, also.

    Bows with frogs
    The frog end of the string quartet bows
    Laser cut layered frog
    The layered frog designed to fit the bow’s curve

    The display

    Once Jana had painted, assembled and strung her string quartet it was delivered to Charlecote for their annual Christmas Display. This year it’s themed around recycling and is open from today (November 30th). We think It looks fantastic, well done Jana, what a superb concept!

    String quartet nearly complete
    One string quartet nearly done!
    The finished string quartet
    Ready for delivery!

    All of our time on this project was donated to Jana, the National Trust being a charity. If you have any projects you think we can help with then get in touch and let’s have a chat about it!

    A big thank you to Jana for use of her photos!

    If you have a showcase project you’d like to talk to us about then book a call or use our contact form and let’s get started!

  • Lacquered Slate Finishes

    Lacquered Slate Finishes

    Matte vs Gloss finish comparison

    If you have any questions about slate finishes or anything else we may be able to help you with then don’t hesitate to get in touch and ask!

  • Laser engraving 3D features

    Laser engraving 3D features

    3D engraved texture

    3D or not 3D

    Not to be confused with 3D printing which is completely different, 3D engraving is a method of creating a texture in the surface you’re engraving by varying the laser power. Here’s how it works…

    Laser engraved and cut Borg cube
    Our Borg Cube design

    As the laser passes over the material it vapourises the surface of the material which is how the engraving is achieved. Now imagine the laser is not moving, at some point it will burn a hole through the material, assuming it is a material that can be cut. How long this takes depends on the amount of laser power being used, 100% power will obviously cut through far more quickly than 10% power.

    Lasers vapourise the material as they go

    Speed vs power

    Now imagine it is moving quite quickly over the material, the laser spot will be spending much less time on any one part of the material and so instead of burning through the material it leaves a mark on the surface

    It’s easy to see that the amount of effect the laser has on the material is a combination of speed and power so to achieve a 3D texture on a surface the easiest thing is to keep the speed constant and vary the power, so imagine as the laser is moving over the material, that we vary the power like this…

    Varying laser engraving power over time

    You would expect the material to be affected like this…

    The higher the power, the deeper the cut

    Now we understand how this works, imagine a greyscale picture of a texture where the darker shades are more power and the lighter shades less.

    A grayscale image used for controlling laser power

    We can vary the laser from 0 to 100% power using the shades white through to black. Using a section of our Borg Cube project texture image you can immediately see how this then carves the texture into the material by varying the power!

    The engraved result (the hole is for a switch)

    To learn more about the techniques we use with lasers and different materials check out our other blog posts. If you’d like to discuss a project from business cards to assembled 3D models then get in touch!

  • Dreamcatcher clock

    Dreamcatcher clock

    Custom clocks

    Tick-tock, not TikTok

    Dreamcatcher clock
    The Dreamcatcher Clock

    Coming from a completely random moment on Twitter where #MHHSBD group had a theme of ‘Dreams’ for the day, this gorgeous dreamcatcher design emerged. The geometric design was put together in Illustrator and then exported to Lightburn for final layout.

    testing the dreamcatcher design
    Initial miniature dreamcatcher design

    Areas were added for the numbers and the digits added.

    With an easy-to-read face and gold-coloured hands and feathers, this looks fabulous in any setting and at 240 x 350mm doesn’t need to take over your entire wall!

    Dreamcatcher clock body
    Half-size test cut of the dreamcatcher design

    It has a reliable quartz mechanism powered by a single AA battery to keep perfect time.

    The laser cut components
    The first Dreamcatcher Clock cut

    Get in touch if there’s something you’d like to discuss creating!

  • Laser engraving scratch paper

    Laser engraving scratch paper

    Engraving scratch paper

    Laser, not scratch!

    Scratch paper is a popular medium for laser engraving but many people have a lot of trouble getting their settings down so here’s how I did it. The paper I used was ‘Rainbow Scratch Notes’ from Amazon.

    First test – 5000mm/min, 50% power (~5W), 508 lpi

    The first task is to run a power test from 0 to 100% for which I have a handy test image I made. Most paper will cut at some power at around 6000mm/min speed so I picked 5000mm/min at 50% power as this is a bit more than just paper. Scratch paper has a sort of plasticised coating which you can see here looking a little frazzled and melted. Remember your percentages will vary, if you have a 40W laser then maybe start at 15% power, etc.

    Second test – 5000mm/min, 17% power, 508 lpi

    As you can see from the first test, the brightest results are down below 30% power so the second test is at the same speed but at around 30% of the 50% power, 17%.

    Third test – 5000mm/min, 12.5% power, 508 lpi

    As you can see this has shifted the brightest area to around 60% of the 17% power maximum so next I did a solid block at 12.5% fixed power. This came out nice and light but looked odd. Time to check with the microscope!

    Black lines remain between the engraved rows

    It’s not a fancy microscope, just a cheap 50-1000x USB unit but it gives you plenty of detail and this shows that the fill has really thin unengraved black lines between the rows and some fine debris from the coating, so a larger dot is needed. Reducing the line spacing made little difference so we have a different trick to use…

    Raising the laser 7mm increases the dot size

    Defocusing the laser by moving it upwards by 7mm will increase the dot size which gives us this! A quick brush to remove the debris leaves it nice and clean.

    And here’s the proof of the pudding! I hope you found this useful, always remember you have the option of defocusing as well as tuning speed and power!

    Check out our other blog articles!