Author: guy

  • Can a laser engrave in colour?

    Can a laser engrave in colour?

    Can a laser engrave in colour?

    It’s not like ‘laser printing’

    ‘Can a laser engrave in colour’ is an interesting and often-asked question about laser engraving. In general the answer is ‘no’ but there are exceptions when it comes to colour engraving, read on to discover them!
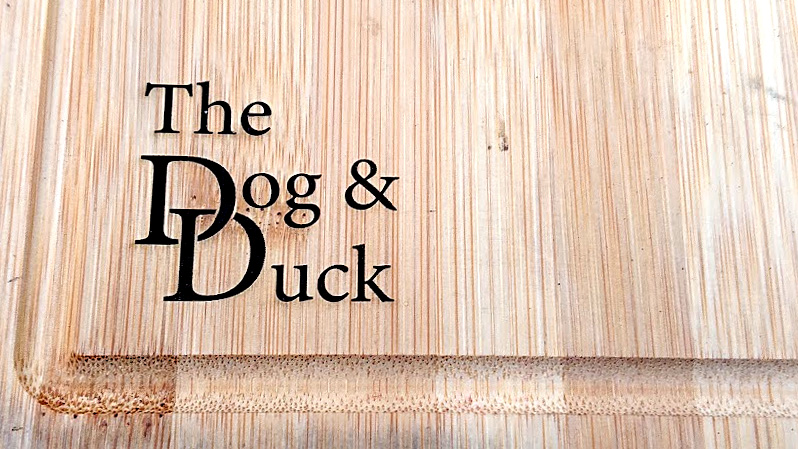
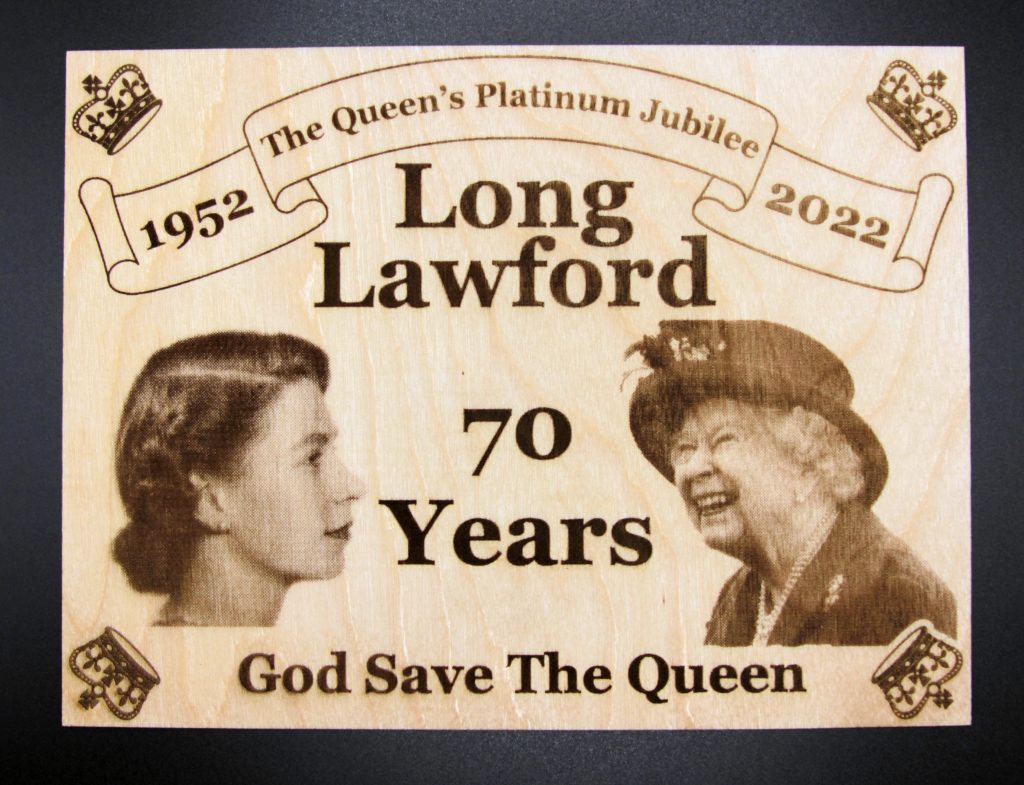
    Wood

    Starting with the easiest material, wood and similar like MDF, plywood and other organic materials like card and paper, the answer is no as the laser will burn the material giving the characteristic laser-engraved dark shades. The shades can be varied slightly but in general you’ll pay more attention to a good dot size (as the laser will scorch the material slightly around the edge of the dot, increasing it in size a little) and produce shading by dithering areas of grey if you were engraving an image

    Jubilee plaque 6x8
    Jubilee plaque 6×8

    Card

    Coloured card is something of an exception here as it is possible to produce varying hues by altering the laser power in the ranges lower than cutting power. This however is affecting the card’s dye rather than the card itself and will vary in outcome with the individual cardstock in question
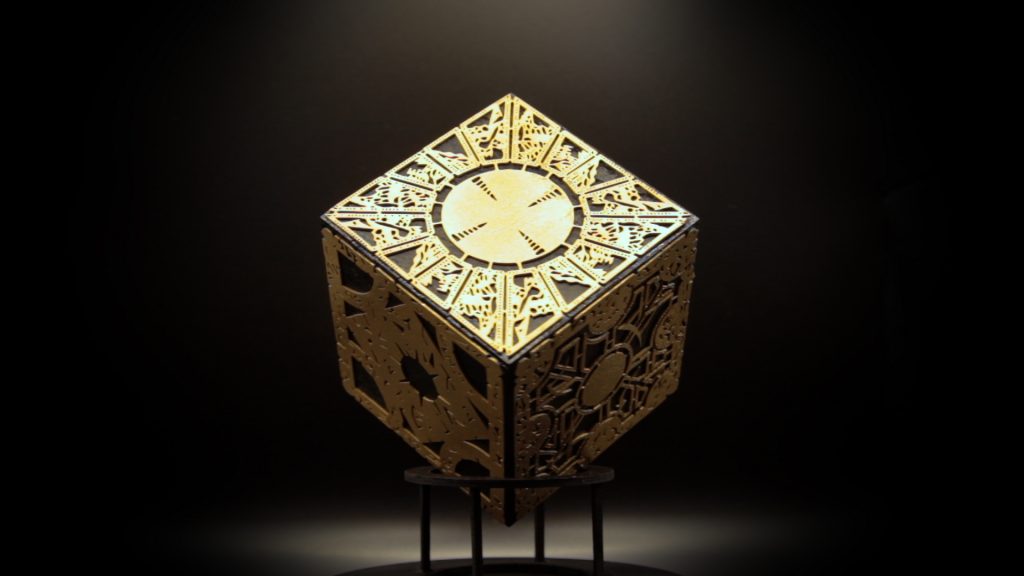
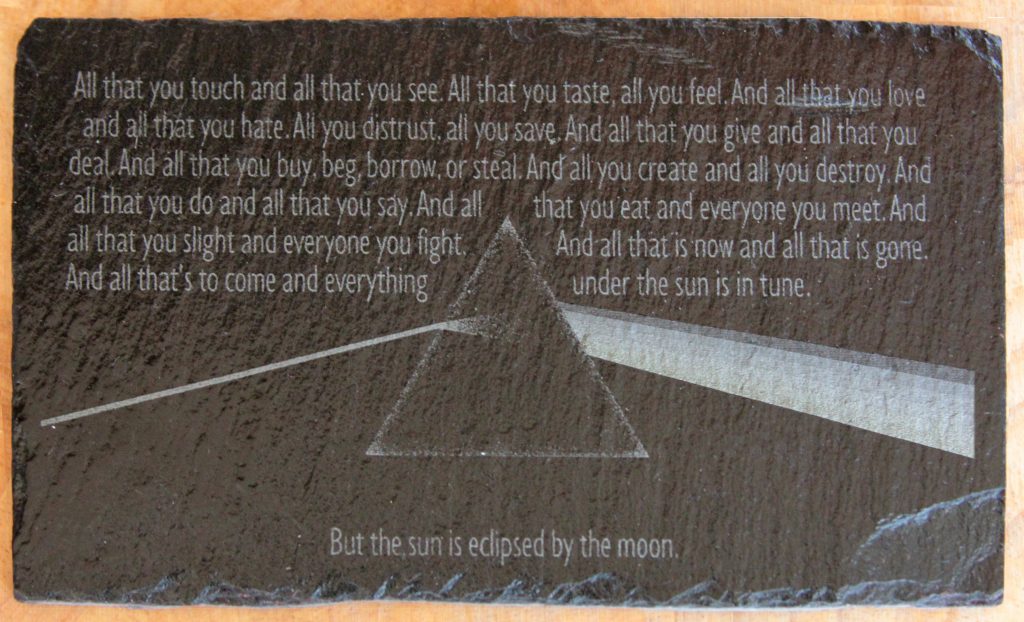
    Card power test
    Card power test

    Slate

    When engraving (or more accurately ‘marking’) slate, the laser power will create subtle variations in the marking colour from a light grey to a golden-yellow colour. This can be exploited to some degree for subtle effects but the variation isn’t so extreme that you could really treat it as different colours as you might for a colour printing effect.
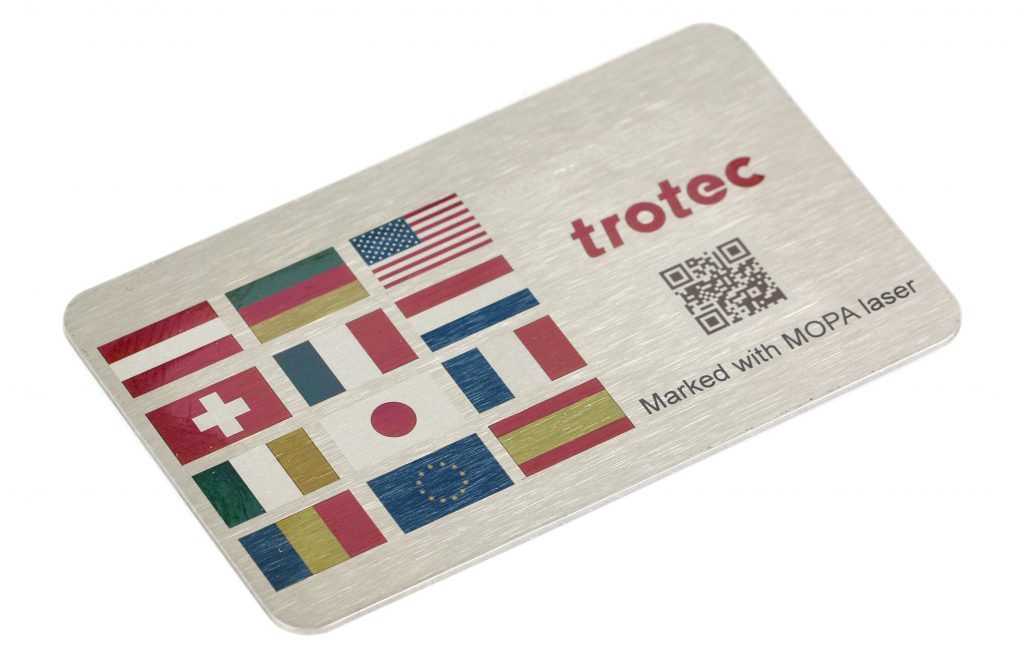
    Different laser powers create the rainbow shades
    Different laser powers create the rainbow shades

    MOPA

    MOPA lasers will reproduce colour on metal, they work differently to other lasers with incredibly short pulses of laser power which can be tuned in such a way that they anneal the metal, creating reliably reproducible colour on the surface as shown in this steel example courtesy of Trotec Laser.

    Colour MOPA marking. Thanks to Trotec UK for the image
    Colour MOPA marking. Thanks to Trotec UK for the image

    So can lasers engrave in colour? The answer is yes, but only in specific cases with particular equipment and with particular materials.

    If you have some engraved items that you’d like creating then get in touch and let’s discuss what we can do for you!

  • A 3D fractal sculpture

    A 3D fractal sculpture

    3D fractal sculpture

    Fascinating

    One thing that’s always fascinated me is fractals and how so many of them echo forms found everywhere in real life so I thought ‘how about making a 3D fractal sculpture?’.

    Fractal 3D Mandelbrot sclpture
    3D Mandelbrot ‘sculpture’

    The first thing is to find a fractal image I liked the look of so after a little playing around with https://math.hws.edu/eck/js/mandelbrot/MB.html I found a view that I liked and copied the image into Photoshop to create the layers Lightburn needs to create the laser project.

    Initial fractal plot
    The source fractal image

    Make it 3D

    As Mandelbrot fractals impart a sense of depth, each layer needs separating by colour, creating 21 or so layers, each of which is exported as a threshold black-and-white PNG. These PNGs are imported into Lightburn, traced and merged with a simple rectangular frame object across the layers.

    Fractal split into layers
    The 20+ Lightburn layers

    The layers are then arranged to be cut from the material…

    Laying out the layers to be laser cut
    Individual layers arranged for cutting

    Then it’s just a matter of cutting, cleaning the edges and assembling in the correct order…

    Do you have an idea for a layered sculpture or would like one creating for your home or workplace then get in touch and let’s discuss it!

  • Personalised clock

    Personalised clock

    Personalised clock

    Getting personal

    Hot off the design press, this 290mm clock design is intended to be personalised and is perfect as a commemorative gift or simply as a ‘Live Laugh Love’ style decorative clock. Make it your own with the wording of your choice!

    Roman numeral clock design

    And here’s how it looks in real life

    Personaised clock
    Clock with personalised text
  • Making a wall clock

    Making a wall clock

    Designing a clock

    Making a wall clock turns out to be more straightforward than it sounds as the mechanisms themselves are readily available, which leaves it mostly down to the actual design which starts in Illustrator with a clock face, numbers and marking and a design for the hands. The colours aren’t so important though I did stick with a black face in this instance.

    Clock in Illustrator
    The Illustrator design
    Clock in lightburn
    Arranging the individual pieces of lasercutting

    Next the Illustrator file is imported into LightBurn and all the individual elements collected together for cutting which looks like the clock has fallen apart into a pile! This is to save space on the materials otherwise you’d have to use a 300x300mm sheet of material for everything if you cut the elements as-is which is a bit of a waste and we don’t like waste!

    There’s several layers here as the face was cut from 2mm laser MDF, the hands from 0.9mm laserply and the numbers and the pips from gold-faced 1.5mm laser laminate which has a great brushed metal appearance.

    Assembly involves inserting the gold laser laminate shapes into their respective cut-outs in the face, spraying the hands gold to match and pressing them onto the wall clock mechanism’s spindle, the mechanism being mounted on the rear and held in place with a nut and washer on the front. Getting the mounting hole in the hands to the correct size is important as you want them to grip the spindle snugly.

    All that remains is to fit a hanging hook to the rear!

    Naturally this can be customised in various ways, e.g. ‘Your logo here’ or some commemorative design as well as the face being cut in a different pattern such as Big Ben! Discover more clocks in our shop!

    If there’s a particular design you’d like creating then get in touch and let’s talk about it!

    The end result!
  • Making the  Hellraiser Box

    Making the Hellraiser Box

    Making the Hellraiser box

    It’s OK, it’s not functional

    Most people know what The Lament Configuration is though most likely know it as “the Hellraiser Box in the films”.

    It’s a legendary box which, in the films, was supposed to have been commissioned from a toymaker, Lemarchand, by the Duc de l’Isle who was obsessed with all things dark artsy,

    The Hellraiser box itself is a cube with decorative faces containing designs and (perhaps) runes and sigils and presents as a puzzle box. The problem is that when you ‘solve’ the box it transforms and opens a gateway to a hellish dimension inhabited by the Cenobites who like nothing better than turning you into a Cenobite (usually in a very messy way) or disassembling you and putting you back together again just to rinse and repeat. All without the aid of anaesthetic, naturally.

    The approach to construct it was straightforward enough – make 6 decorative faces and attach them to the sides of a cube. So to the faces first…

    I found some high resolution images of the box faces (from where I don’t remember) and loaded them into Illustrator to convert them into vectors. These I then loaded into Lightburn and scaled them each to 95mm square.

    These were cut out of 0.8mm laserply, sprayed white then, when dry, sprayed gold.

    The box was easily created using the extremely useful MakerCase.com to a 100mm cube allowing a slight border between the faces and the cube edges as this was how the cube appeared in one of the film stills I checked though doubtless there’s other variants in the other films, dozens of box props were made!

    Then it was a case of spraying the box black and attaching the faces with PVA after it had dried.

    Job done!

    Need some items or film props creating? Just get in touch, no Dark Arts required.