Author: guy

  • Local charity selects Surefyre Laser Design for medal production

    Local charity selects Surefyre Laser Design for medal production

    We are excited to announce that Surefyre Laser Design has been selected by local charity Pass The Smile For Ben to produce their medals for an upcoming event at the end of March.

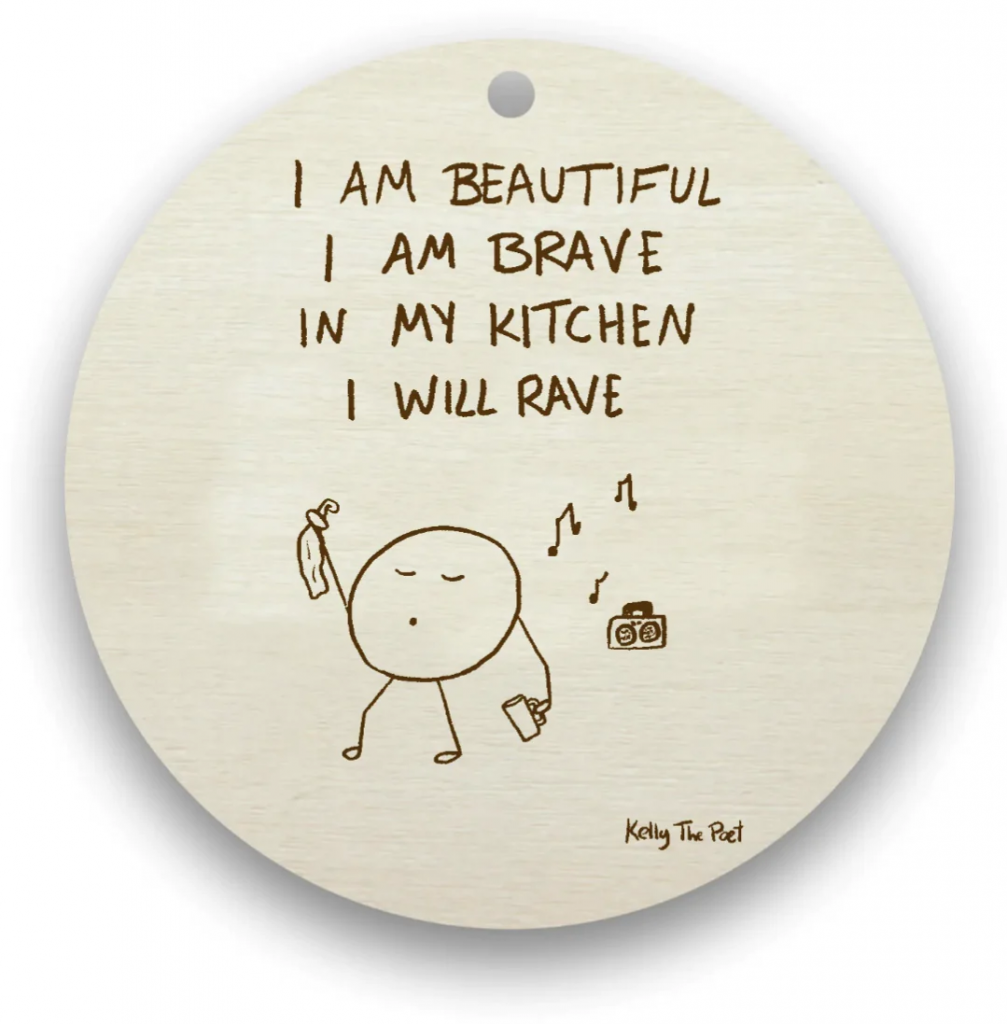
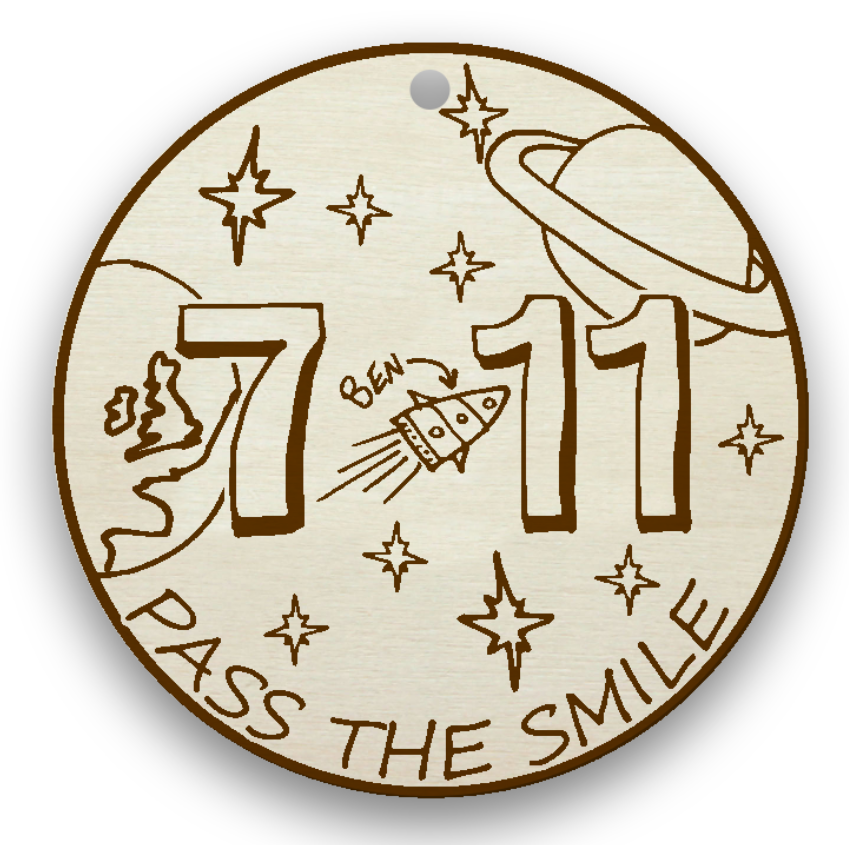
    We have been asked to make 100 double-sided wooden medals which will be created from FSC-sourced recyclable ply for the event. We took a sketch concept from Pass The Smile and used that as the basis to design the medal in close consultation with the charity, it is now about to go into production for them.

    The medal design (front)

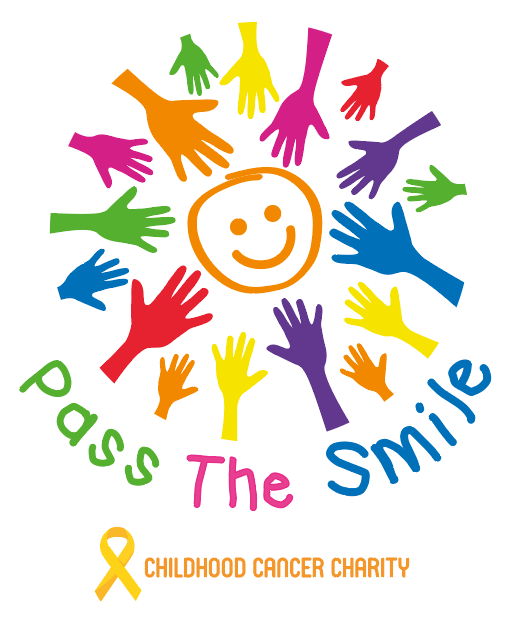
    Pass The Smile raises funds for research into childhood cancer in memory of Ben Crowther from Earlsdon, Coventry. Ben (aka Bennis the Menace) was diagnosed with a rare cancer, Rhabdomyosarcoma, in June 2018. Despite the brutal effects of his own chemotherapy treatment Ben tried different ways to cheer up other patients, including telling jokes and pulling pranks on friends, family and the hospital staff. Ben (age 7) gained his superhero wings just a year after diagnosis. Pass The Smile is his legacy.

    Ben would have been 11 years old on 27th March 2023. The medals are for a virtual event celebrating Ben, his 7 Earth years and his heavenly age of 11. People are encouraged to join in challenges of their choice incorporating the numbers 7 or 11 – or both! You could read 7 books, run 7km, tell 11 jokes or play 11 pranks. Maybe not all at the same time though! Information about taking part will be released on Pass The Smile social media. (https://www.facebook.com/PassTheSmileOrg/)

    Pass the Smile for Ben is a named fund at the Children’s Cancer and Leukaemia Group, the experts in Childhood Cancer. Registered Charity Number: 1182637

    Pass The Smile For Ben charity

    If your organisation has an upcoming event then get in touch to see how we can help you with it.

  • The Blob People!

    The Blob People!

    The Blob People by Kelly The Poet

    We’ve been commissioned by the delightful @kellythepoet to produce her wonderful dangles for her.

    We love these, they remind us of Haiku in their understated simplicity!

    Discover more from Kelly and her blob people at https://kellythepoet.com/collections/blob-people-dangles

  • Surefyre Laser Design wins Small Business Sunday

    Surefyre Laser Design wins Small Business Sunday

    We’re proud and excited to have won the Theo Paphitis Small Business Sunday for 29th January 2023! This means that Surefyre Laser Design now joins the ranks of all previous #SBS winners selected by the legendary Theo Paphitis of Dragons Den fame.

    We look forward to learning and growing with the help and support of this incredible network of small businesses and entrepreneurs, giving back and providing value as we’re able.

    Links:
    https://www.theopaphitissbs.com/

  • Custom boxes

    Custom boxes

    Custom boxes

    One size does not fit all

    There’s times when ‘standard’ sized card boxes just won’t do, we know all too well so we decided to make our own for some of our items! This of course means we can make yours, also!

    card boxes
    Card boxes in various shapes and finishes

    If you need some custom-sized small boxes, and you don’t want to order 250 at a time from a large box maker then get in touch and let’s talk about what size, colour and finish you’d like!

  • Surefyre Laser Design incorporates

    Surefyre Laser Design incorporates

    Surefyre Laser Design Ltd is excited to announce its incorporation, appointing Worcestershire-based Sinclair Day Accountancy to manage the company formation and oversee accounting going forward.

    This is the first step in a year of expected growth and expansion of services for the company which is looking forward to an exciting and productive 2023, providing continued excellence to our clients.

    Links:
    Sinclair Day Accounting

  • A laser cut String Quartet

    A laser cut String Quartet

    Recycled string quartet

    Gold from trash

    Working on unusual laser cutting projects is a joy as you get to exercise mental muscles for their design which don’t often get used. We were excited when local Creative Artist, Jana Eastwood, asked if we could laser cut cardboard which, of course, we can. We weren’t quite expecting the quantity of cardboard to laser cut though. Jana had been asked by The National Trust’s Charlecote Park to create a string quartet by recycling material they had left over from activity within the house.

    The String quartet in place at Charlecote Park
    The string quartet in place at Charlecote Park house

    Designs

    Thankfully information on the dimensions of the cello, viola and violin are readily available on the Internet from luthiers and other sources. Of course there are plenty of images to refer to also. We set about making the bodies first, creating four fronts and four backs – cello, 2 violas & violin. Not a standard configuration. The musical example picked was Franz Anton Hoffmeister’s Quartet #5 in Eb Major which was composed this way. Once cut, Jana could begin assembling the bodies using card tubing cut to length as internal supports between the two sides.

    The laser cut String Quartet bodies
    The string quartet instrument bodies, the cello was cut in two pieces due to its size

    Stick your neck out

    Next the necks were cut as a box, cutting the long side profile of the neck, including the scroll and pegbox holes, and a pair of connecting panels for the top and bottom. Jana added the clever step of some internal card bracing for the necks too.

    Necks for the string quartet instruments
    The neck pieces
    Neck with internal bracing
    The internal bracing in the necks

    Infinite scroll

    We laser cut the scroll ends as varying size pieces to emulate the relief of a real scroll and to create a solid end for strength when glued. Sixteen tuning pegs were created by using a 3D engraving technique on 9mm MDF for realism (see Laser engraving 3D features). These couldn’t be created completely from cardboard and still look great.

    Necks before painting
    The scrolls with packing
    Scroll end with tuning peg
    Using a tuning peg to hold the scroll end together

    A bridge too far

    Bridges, tailpieces and chinrests were also cut from cardboard and painted black as were the fingerboards for each instrument.

    String Quartet chin rests and tailpieces
    Tailpieces & chinrests

    Wait, there’s frogs?

    The four bows were being made from 12mm dowel and we needed to cut frogs and tips that could be securely glued to it. This led us to create each tip and frog from eight layers of 1.5mm cardboard (conveniently a good size!). With 4 layers at slightly different heights when the layers are stacked together they follow the circular profile of the dowel. This technique was used for the bow tip, also.

    Bows with frogs
    The frog end of the string quartet bows
    Laser cut layered frog
    The layered frog designed to fit the bow’s curve

    The display

    Once Jana had painted, assembled and strung her string quartet it was delivered to Charlecote for their annual Christmas Display. This year it’s themed around recycling and is open from today (November 30th). We think It looks fantastic, well done Jana, what a superb concept!

    String quartet nearly complete
    One string quartet nearly done!
    The finished string quartet
    Ready for delivery!

    All of our time on this project was donated to Jana, the National Trust being a charity. If you have any projects you think we can help with then get in touch and let’s have a chat about it!

    A big thank you to Jana for use of her photos!

    If you have a showcase project you’d like to talk to us about then book a call or use our contact form and let’s get started!

  • Lacquered Slate Finishes

    Lacquered Slate Finishes

    Matte vs Gloss finish comparison

    If you have any questions about slate finishes or anything else we may be able to help you with then don’t hesitate to get in touch and ask!

  • Laser engraving 3D features

    Laser engraving 3D features

    3D engraved texture

    3D or not 3D

    Not to be confused with 3D printing which is completely different, 3D engraving is a method of creating a texture in the surface you’re engraving by varying the laser power. Here’s how it works…

    Laser engraved and cut Borg cube
    Our Borg Cube design

    As the laser passes over the material it vapourises the surface of the material which is how the engraving is achieved. Now imagine the laser is not moving, at some point it will burn a hole through the material, assuming it is a material that can be cut. How long this takes depends on the amount of laser power being used, 100% power will obviously cut through far more quickly than 10% power.

    Lasers vapourise the material as they go

    Speed vs power

    Now imagine it is moving quite quickly over the material, the laser spot will be spending much less time on any one part of the material and so instead of burning through the material it leaves a mark on the surface

    It’s easy to see that the amount of effect the laser has on the material is a combination of speed and power so to achieve a 3D texture on a surface the easiest thing is to keep the speed constant and vary the power, so imagine as the laser is moving over the material, that we vary the power like this…

    Varying laser engraving power over time

    You would expect the material to be affected like this…

    The higher the power, the deeper the cut

    Now we understand how this works, imagine a greyscale picture of a texture where the darker shades are more power and the lighter shades less.

    A grayscale image used for controlling laser power

    We can vary the laser from 0 to 100% power using the shades white through to black. Using a section of our Borg Cube project texture image you can immediately see how this then carves the texture into the material by varying the power!

    The engraved result (the hole is for a switch)

    To learn more about the techniques we use with lasers and different materials check out our other blog posts. If you’d like to discuss a project from business cards to assembled 3D models then get in touch!

  • Dreamcatcher clock

    Dreamcatcher clock

    Custom clocks

    Tick-tock, not TikTok

    Dreamcatcher clock
    The Dreamcatcher Clock

    Coming from a completely random moment on Twitter where #MHHSBD group had a theme of ‘Dreams’ for the day, this gorgeous dreamcatcher design emerged. The geometric design was put together in Illustrator and then exported to Lightburn for final layout.

    testing the dreamcatcher design
    Initial miniature dreamcatcher design

    Areas were added for the numbers and the digits added.

    With an easy-to-read face and gold-coloured hands and feathers, this looks fabulous in any setting and at 240 x 350mm doesn’t need to take over your entire wall!

    Dreamcatcher clock body
    Half-size test cut of the dreamcatcher design

    It has a reliable quartz mechanism powered by a single AA battery to keep perfect time.

    The laser cut components
    The first Dreamcatcher Clock cut

    Get in touch if there’s something you’d like to discuss creating!

  • Laser engraving scratch paper

    Laser engraving scratch paper

    Engraving scratch paper

    Laser, not scratch!

    Scratch paper is a popular medium for laser engraving but many people have a lot of trouble getting their settings down so here’s how I did it. The paper I used was ‘Rainbow Scratch Notes’ from Amazon.

    First test – 5000mm/min, 50% power (~5W), 508 lpi

    The first task is to run a power test from 0 to 100% for which I have a handy test image I made. Most paper will cut at some power at around 6000mm/min speed so I picked 5000mm/min at 50% power as this is a bit more than just paper. Scratch paper has a sort of plasticised coating which you can see here looking a little frazzled and melted. Remember your percentages will vary, if you have a 40W laser then maybe start at 15% power, etc.

    Second test – 5000mm/min, 17% power, 508 lpi

    As you can see from the first test, the brightest results are down below 30% power so the second test is at the same speed but at around 30% of the 50% power, 17%.

    Third test – 5000mm/min, 12.5% power, 508 lpi

    As you can see this has shifted the brightest area to around 60% of the 17% power maximum so next I did a solid block at 12.5% fixed power. This came out nice and light but looked odd. Time to check with the microscope!

    Black lines remain between the engraved rows

    It’s not a fancy microscope, just a cheap 50-1000x USB unit but it gives you plenty of detail and this shows that the fill has really thin unengraved black lines between the rows and some fine debris from the coating, so a larger dot is needed. Reducing the line spacing made little difference so we have a different trick to use…

    Raising the laser 7mm increases the dot size

    Defocusing the laser by moving it upwards by 7mm will increase the dot size which gives us this! A quick brush to remove the debris leaves it nice and clean.

    And here’s the proof of the pudding! I hope you found this useful, always remember you have the option of defocusing as well as tuning speed and power!

    Check out our other blog articles!